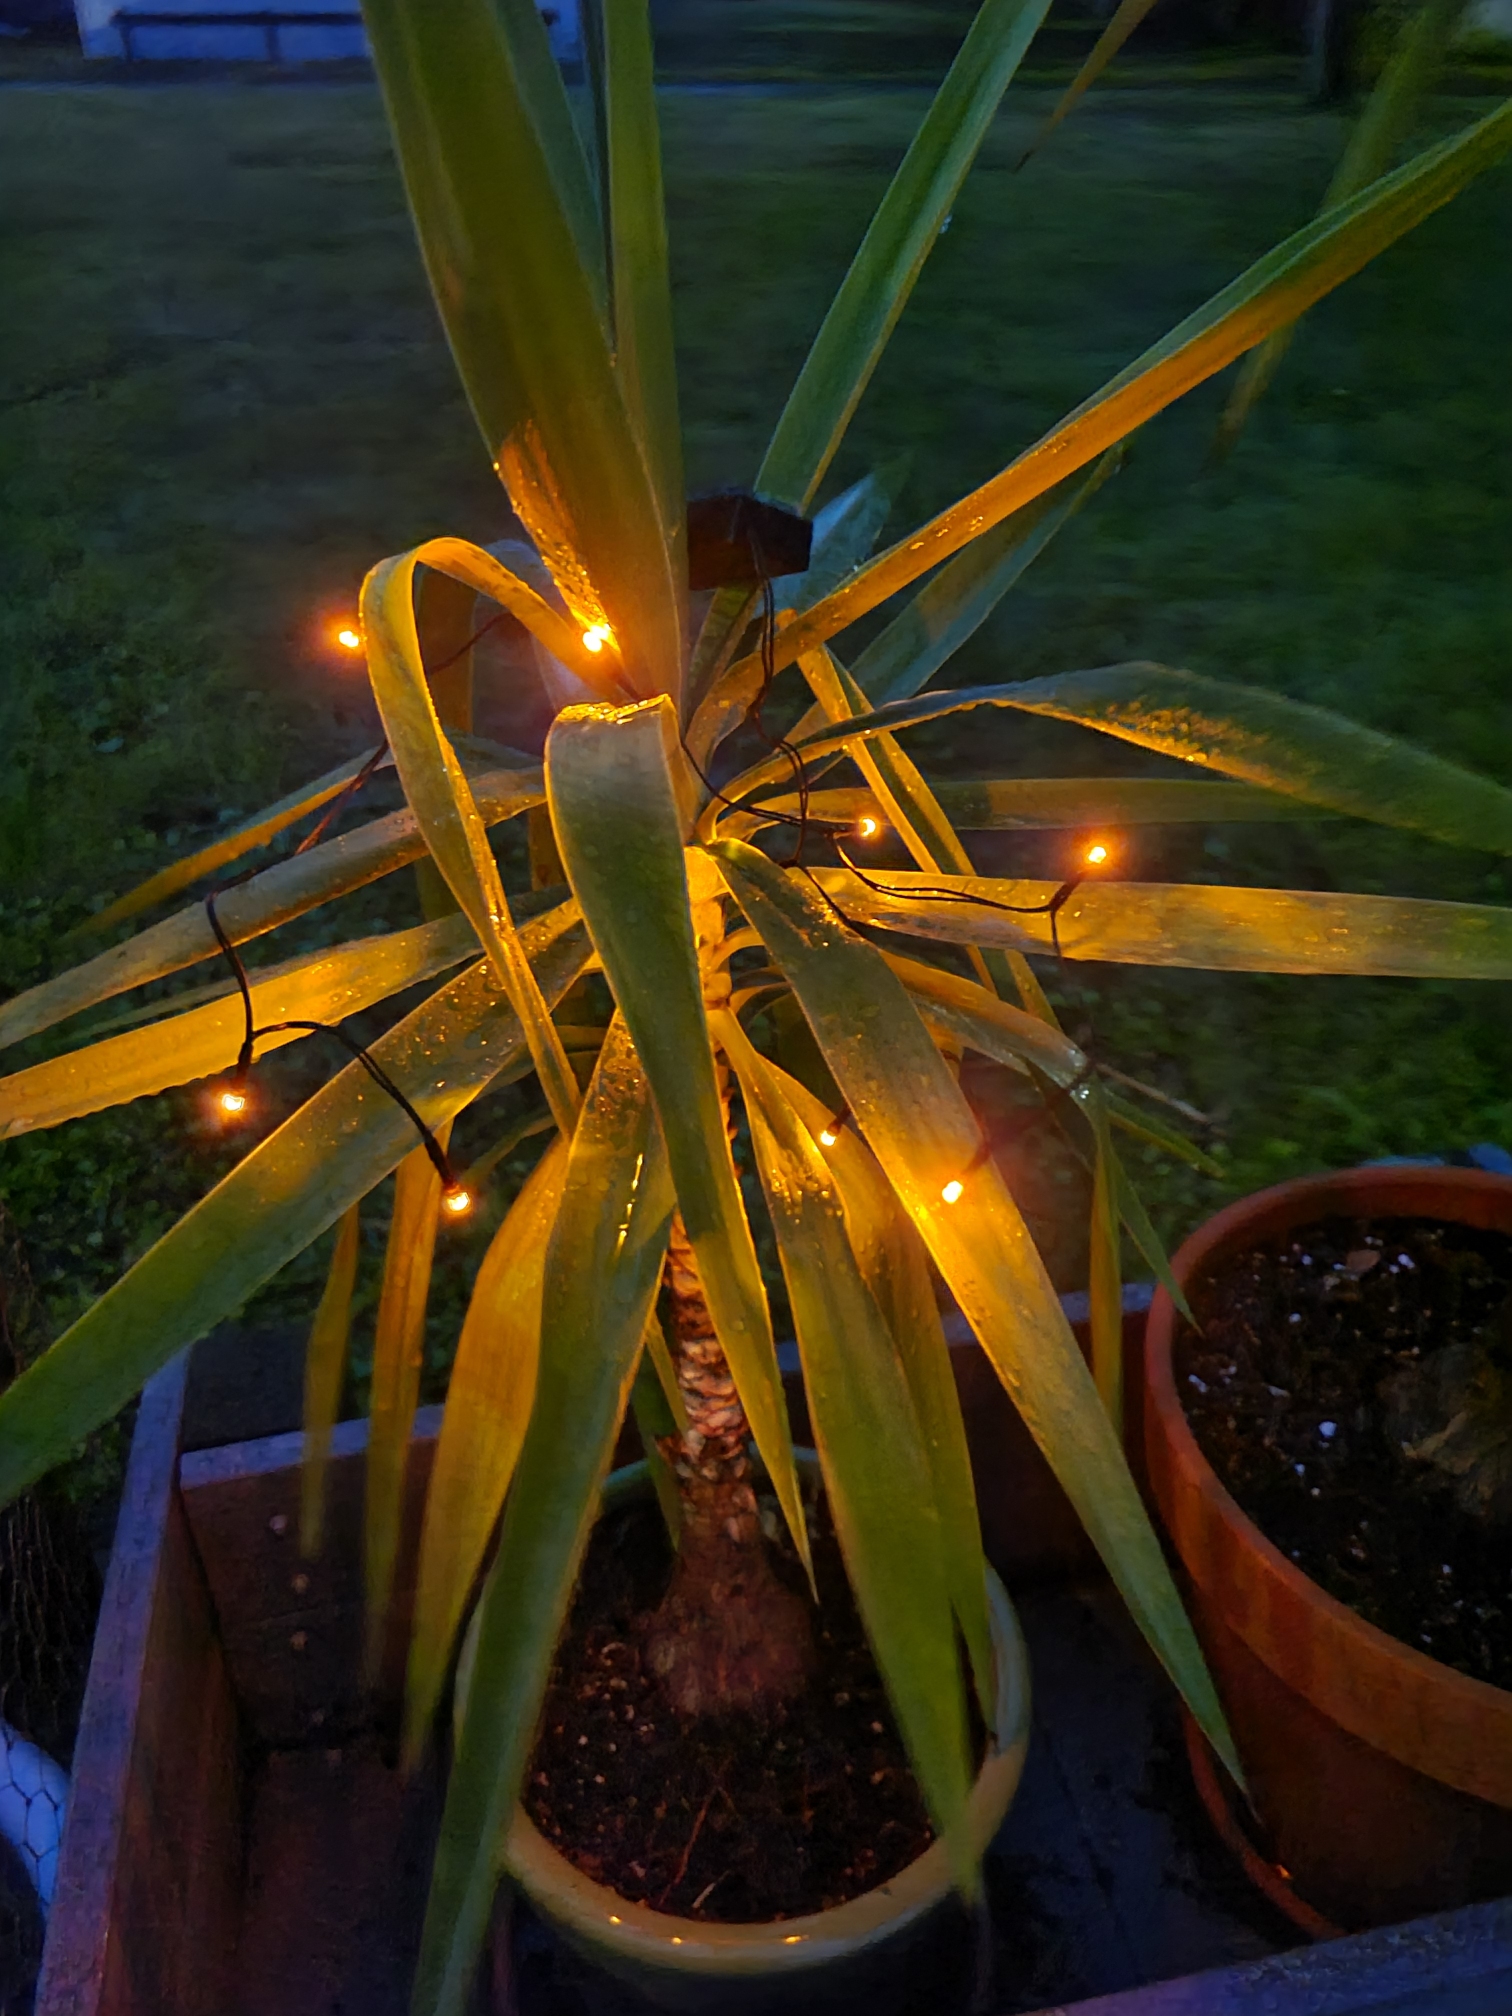
I picked up a few strands of holiday lights and some outdoor yard lights at the dollar store the other day. In my free time I decided to modify them so that I could have a small strand of holiday lights that was solar powered and also automatically turn off during the day. I like to use these lights around the campsite when I go backpacking. I’m sure you will be able to find a lot of uses for them too.

This is a good project for beginners who are learning to solder. They are cheap, so if you damage something it is easy to get a replacement. I usually buy lights throughout the year, so I can collect different colors for different seasons. My favorite soldering iron to use is the: Hakko 888D
The circuit board that is in the yard light is a joule thief circuit and only requires one battery. The extra battery space in the holiday lights is where we will put our circuit board and wiring. You can read more about the joule thief circuit here: https://en.wikipedia.org/wiki/Joule_thief

First disassembly the yard light and remove the circuit board and solar panel. Label the positive and negative of the solar panel before you desolder. Next desolder the LED in the circuit board and remove it. Also desolder the wire from the battery holder, but leave them attached to the circuit board.
Then open up the battery compartment of the holiday lights and desolder the negative and positive leads of the strand of lights. Mark these wires as you remove them. Install the negative lead into the negative LED hole and the positive on the positive LED hole of the circuit board and solder into place.

Next solder the negative battery wire from the circuit board to the negative battery post. Then solder the positive lead from the circuit board to the center post of the switch. (This should be where you desolded the positive lead of the strand of lights from)
Now slide the metal battery tab (the tab opposite of the switch) out of the case. On the negative side by the spring sand a spot on the metal to rough it up. This will help the solder stick. Add a small spot of solder to that spot. You will need to find a shot piece of wire that is long enough to make it from the far side of the battery compartment to the tab on the switch. Solder the wire to the battery tab and the switch. Then slide the tab back into the battery compartment.

Then drill a small hole for the solar panel wires in the back of the battery compartment. Push the wires through the hole and solder the solar panel back on. This is a good point to put a battery in it and try it out before you glue the boards down. If you have any problems fix them now before continuing on. FYI: LED’s on light when the polarity is correct. If they do not light you may have mixed up the positive and negative connections.
Finally hot glue the solar panel on the back of the case and the circuit board in the extra battery space. And install a rechargeable battery and you are ready to go.

